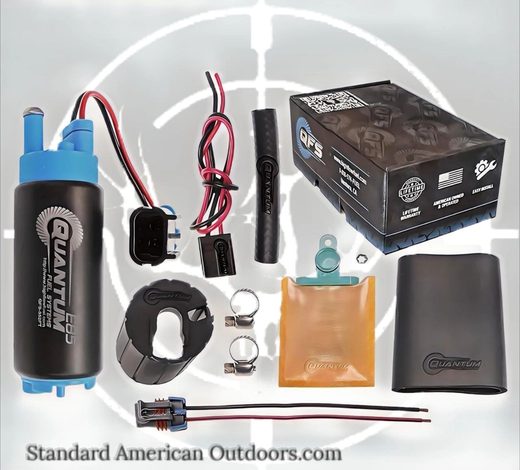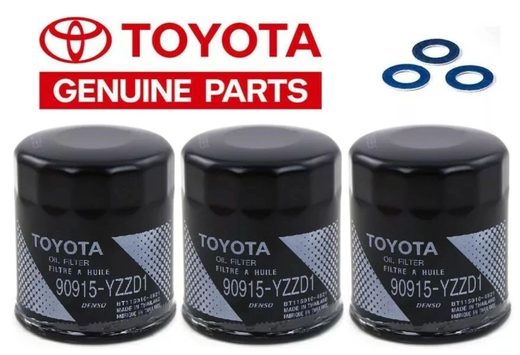
DIY: Replacing the Fuel Pump and Filter on a 2nd Gen 4Runner 3VZE
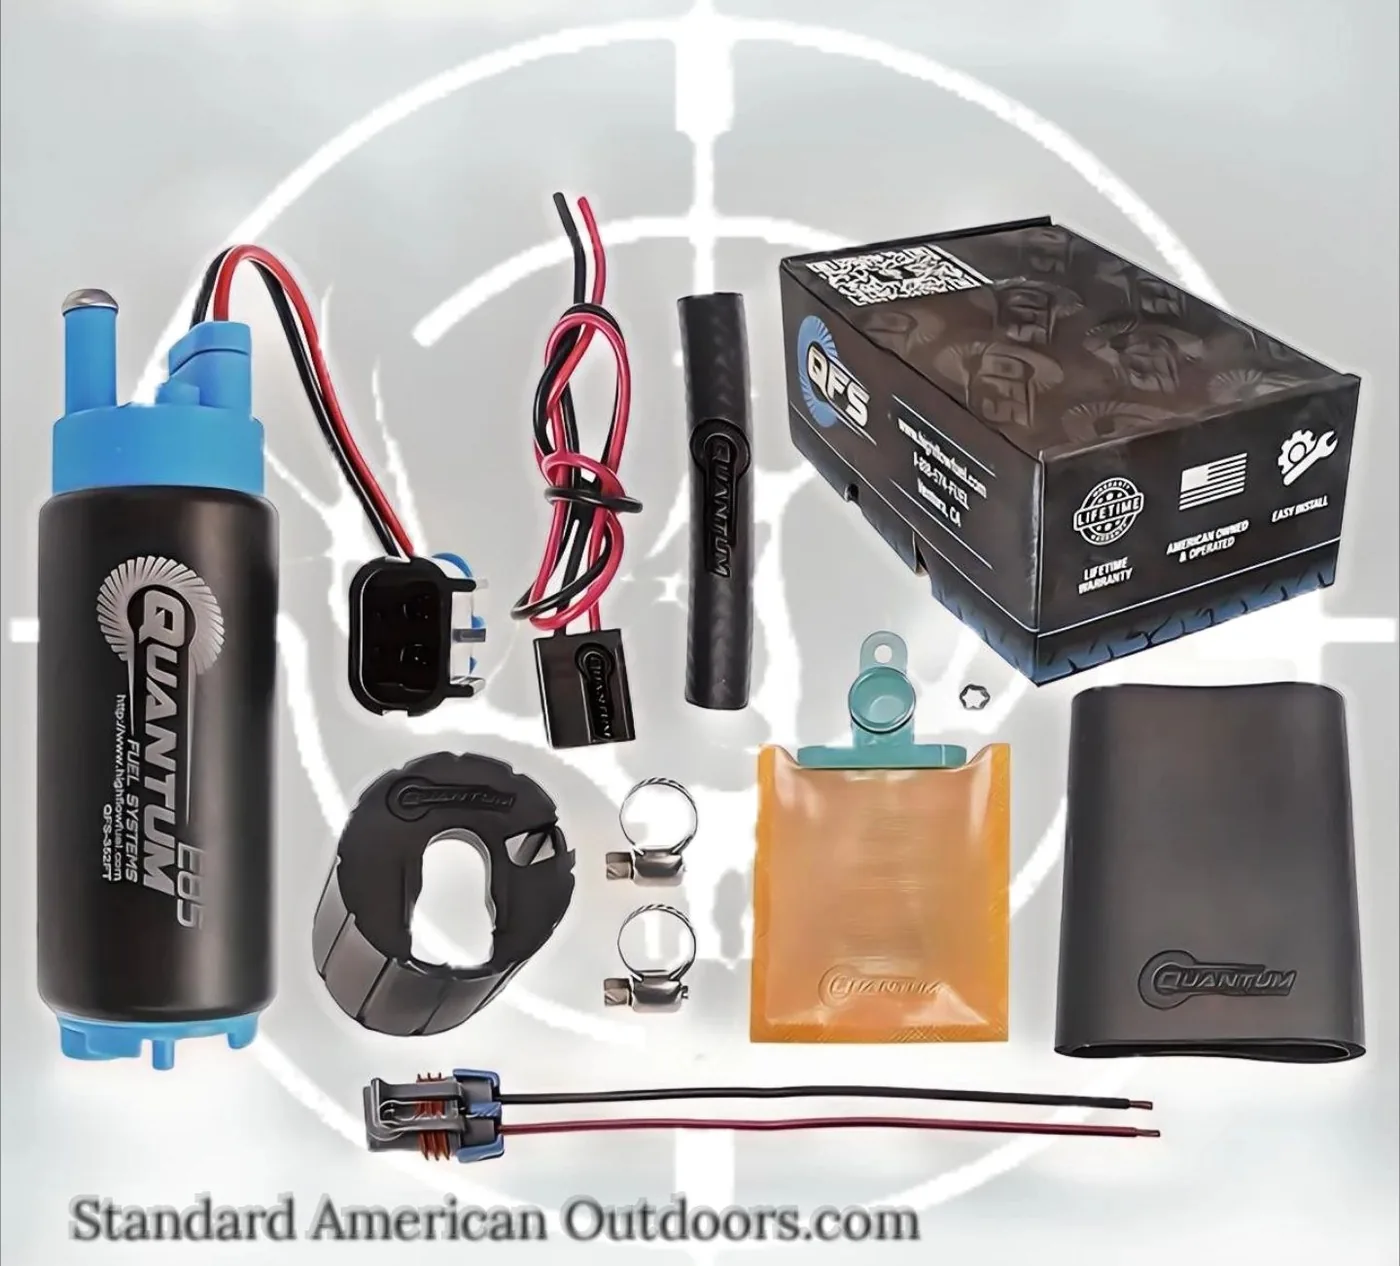
3vze fuel pump, 3vz fuel pump, 22re fuel pump, 2nd gen 4runner fuel pump, best 4runner fuel pump, e85 fuel pump.
DIY: Replacing the Fuel Pump and
Filter on a 2nd Gen 4Runner (3VZ-E)
Introduction: Revitalizing the Heart of Your Classic 4Runner
The second-generation Toyota 4Runner (1990–1995), particularly those equipped with the venerable 3.0L V6 3VZ-E engine, remains a highly capable and beloved platform for off-road enthusiasts and daily drivers alike. However, as these vehicles age, components within the fuel delivery system—specifically the fuel pump and filter—become common points of failure. A failing fuel pump can lead to frustrating symptoms, from intermittent hesitation to a complete no-start condition, severely compromising the vehicle's reliability and performance. This comprehensive, academic-style guide provides a detailed, step-by-step procedure for the do-it-yourself (DIY) replacement of both the in-tank fuel pump and the frame-mounted fuel filter on the 2nd Gen 4Runner with the 3VZ-E engine. This is a moderately complex repair that requires meticulous attention to safety and detail, but successfully completing it will restore optimal fuel pressure and flow, ensuring your classic 4Runner runs reliably for years to come.
I. Diagnosis and Pre-Service Safety Protocols
Before commencing any work on the fuel system, accurate diagnosis and strict adherence to safety protocols are paramount. Gasoline is highly volatile, and improper handling can lead to severe injury or fire.
A. Recognizing Symptoms of Fuel System Failure
The 3VZ-E engine relies on a consistent supply of pressurized fuel. Symptoms indicating a failing pump or clogged filter include:
Engine Cranking, No Start: The most definitive sign of a failed fuel pump, as the engine is receiving no fuel or insufficient pressure. Power Loss Under Load: Hesitation or sputtering, particularly during acceleration or climbing hills, suggests the pump cannot maintain the required pressure (typically 38-44 psi for the 3VZ-E) under high demand. Whining Noise from the Rear: A loud, high-pitched whine emanating from the fuel tank area, often indicating the pump motor is struggling or failing. Poor Fuel Economy: A restricted fuel filter can cause the pump to work harder, potentially leading to inefficient fuel delivery.
- Engine Cranking, No Start: The most definitive sign of a failed fuel pump, as the engine is receiving no fuel or insufficient pressure.
- Power Loss Under Load: Hesitation or sputtering, particularly during acceleration or climbing hills, suggests the pump cannot maintain the required pressure (typically 38-44 psi for the 3VZ-E) under high demand.
- Whining Noise from the Rear: A loud, high-pitched whine emanating from the fuel tank area, often indicating the pump motor is struggling or failing.
- Poor Fuel Economy: A restricted fuel filter can cause the pump to work harder, potentially leading to inefficient fuel delivery.
B. Essential Safety Precautions
Working with the fuel system demands a safe environment and procedure:
Ventilation and Fire Suppression: Work exclusively in a well-ventilated outdoor area, away from any ignition sources (sparks, open flames, pilot lights). Keep a Class B fire extinguisher immediately accessible. Battery Disconnection: Always disconnect the negative battery terminal first to eliminate any potential electrical shorts or sparks. Relieve Fuel Pressure: The fuel system is pressurized. Locate the service port on the fuel rail (or use the fuel pump fuse/relay method) to safely depressurize the system before disconnecting any lines. Use shop rags to contain any residual fuel spray. Minimize Fuel in Tank: The fuel tank must be dropped to access the pump. Attempting to drop a full or near-full tank is extremely hazardous. Siphon or drain the tank until it is as close to empty as possible (ideally less than 1/4 full).
- Ventilation and Fire Suppression: Work exclusively in a well-ventilated outdoor area, away from any ignition sources (sparks, open flames, pilot lights). Keep a Class B fire extinguisher immediately accessible.
- Battery Disconnection: Always disconnect the negative battery terminal first to eliminate any potential electrical shorts or sparks.
- Relieve Fuel Pressure: The fuel system is pressurized. Locate the service port on the fuel rail (or use the fuel pump fuse/relay method) to safely depressurize the system before disconnecting any lines. Use shop rags to contain any residual fuel spray.
- Minimize Fuel in Tank: The fuel tank must be dropped to access the pump. Attempting to drop a full or near-full tank is extremely hazardous. Siphon or drain the tank until it is as close to empty as possible (ideally less than 1/4 full).
II. Fuel Pump Replacement: The In-Tank Procedure
The fuel pump is located inside the fuel tank, necessitating the removal of the tank assembly.
A. Required Tools and Parts
ComponentPurposeNotesNew Fuel Pump ModuleReplaces the old pump, strainer, and sender unit.Highly recommended to replace the entire assembly for a 30+ year old vehicle.New Fuel FilterFrame-mounted component.Should always be replaced simultaneously.Floor Jack & Jack StandsVehicle support and tank support.Use a secondary jack or transmission jack to safely lower and raise the tank.Metric Socket/Wrench Set8mm to 19mm for various bolts and lines.Flare nut wrenches (14mm, 17mm, 19mm) are essential for fuel lines.Penetrating OilLoosening rusted bolts (e.g., tank straps, skid plate).Apply liberally the day before, if possible.Brass Punch & HammerRemoving the fuel pump locking ring.Crucial: Use brass to avoid sparks.Approved Fuel ContainersStoring drained gasoline.Must be properly rated for fuel storage.
B. Step-by-Step Tank Removal and Pump Access
Vehicle Preparation: Park on a level surface, engage the parking brake, and chock the front wheels. Lift the rear of the vehicle and secure it on sturdy jack stands. Remove the spare tire for maximum clearance. Disconnecting the Filler Neck: Locate the filler neck and vent hoses in the rear wheel well. Loosen the hose clamps and disconnect the hoses from the tank. Disconnecting Lines and Wiring: Underneath the vehicle, disconnect the main fuel lines (feed and return) and the electrical harness from the tank. Be prepared for residual fuel leakage. Tank Support and Strap Removal: Position the secondary jack (or transmission jack) securely under the fuel tank. Once supported, remove the bolts securing the two metal tank straps. Lowering the Tank: Slowly and carefully lower the tank using the jack. Monitor all remaining connections to ensure nothing is snagged. Once lowered, maneuver the tank out from under the vehicle. Pump Removal: With the tank safely on the ground, access the top of the fuel pump assembly. Disconnect the electrical connector and use the brass punch and hammer to tap the large locking ring counter-clockwise until it loosens. Carefully lift the entire fuel pump module out of the tank.
- Vehicle Preparation: Park on a level surface, engage the parking brake, and chock the front wheels. Lift the rear of the vehicle and secure it on sturdy jack stands. Remove the spare tire for maximum clearance.
- Disconnecting the Filler Neck: Locate the filler neck and vent hoses in the rear wheel well. Loosen the hose clamps and disconnect the hoses from the tank.
- Disconnecting Lines and Wiring: Underneath the vehicle, disconnect the main fuel lines (feed and return) and the electrical harness from the tank. Be prepared for residual fuel leakage.
- Tank Support and Strap Removal: Position the secondary jack (or transmission jack) securely under the fuel tank. Once supported, remove the bolts securing the two metal tank straps.
- Lowering the Tank: Slowly and carefully lower the tank using the jack. Monitor all remaining connections to ensure nothing is snagged. Once lowered, maneuver the tank out from under the vehicle.
- Pump Removal: With the tank safely on the ground, access the top of the fuel pump assembly. Disconnect the electrical connector and use the brass punch and hammer to tap the large locking ring counter-clockwise until it loosens. Carefully lift the entire fuel pump module out of the tank.
C. Installation of New Pump and Reassembly
New Pump Installation: Install the new fuel pump module, ensuring the new gasket or O-ring is properly seated. Tighten the locking ring securely (use the brass punch method). Tank Reinstallation: Lift the tank back into position using the jack. Reinstall the tank straps and tighten the bolts to the manufacturer's specified torque. Reconnect: Reconnect the fuel lines, electrical harness, and the filler neck/vent hoses. Double-check all connections for security.
- New Pump Installation: Install the new fuel pump module, ensuring the new gasket or O-ring is properly seated. Tighten the locking ring securely (use the brass punch method).
- Tank Reinstallation: Lift the tank back into position using the jack. Reinstall the tank straps and tighten the bolts to the manufacturer's specified torque.
- Reconnect: Reconnect the fuel lines, electrical harness, and the filler neck/vent hoses. Double-check all connections for security.
III. Fuel Filter Replacement: The Frame-Mounted Component
The fuel filter on the 3VZ-E is typically mounted on the passenger-side frame rail, often near the transmission or under the rear passenger seat area, and should be replaced at the same time as the pump.
A. Procedure for Filter Replacement
Location and Access: The filter is a cylindrical component bolted to the frame. You may need to remove a small skid plate or heat shield for better access. Depressurize and Contain: Ensure the system is depressurized. Place a drain pan and shop rags beneath the filter to catch the fuel that will spill when the lines are disconnected. Disconnect Lines: This step is critical. Use flare nut wrenches (typically 14mm and 17mm) to loosen the fuel line fittings on both the inlet and outlet sides of the filter. Standard open-end wrenches can easily round off these soft metal fittings. Remove Filter: Once the lines are disconnected, remove the bolt(s) holding the filter bracket to the frame. Install New Filter: Install the new filter, ensuring the flow direction arrow matches the fuel flow (towards the engine). Reconnect the fuel lines, tightening the flare nuts carefully to prevent leaks, but avoiding overtightening. Reinstall any removed brackets or shields.
- Location and Access: The filter is a cylindrical component bolted to the frame. You may need to remove a small skid plate or heat shield for better access.
- Depressurize and Contain: Ensure the system is depressurized. Place a drain pan and shop rags beneath the filter to catch the fuel that will spill when the lines are disconnected.
- Disconnect Lines: This step is critical. Use flare nut wrenches (typically 14mm and 17mm) to loosen the fuel line fittings on both the inlet and outlet sides of the filter. Standard open-end wrenches can easily round off these soft metal fittings.
- Remove Filter: Once the lines are disconnected, remove the bolt(s) holding the filter bracket to the frame.
- Install New Filter: Install the new filter, ensuring the flow direction arrow matches the fuel flow (towards the engine). Reconnect the fuel lines, tightening the flare nuts carefully to prevent leaks, but avoiding overtightening. Reinstall any removed brackets or shields.
IV. Post-Installation and Final Checks
After all components are installed, a systematic check is necessary before starting the engine.
System Priming: Reconnect the negative battery terminal. Turn the ignition key to the "ON" position (without starting the engine) for a few seconds, then turn it off. Repeat this 3-4 times. This primes the system, allowing the new pump to fill the lines and build pressure. Leak Check: While priming, visually inspect all fuel line connections (at the tank and the filter) for any signs of leakage. Engine Start: Start the engine and let it idle. Continue to monitor all connections for leaks. If the engine runs smoothly and there are no leaks, the repair is successful. Road Test: Perform a short road test, paying attention to acceleration and idle quality.
- System Priming: Reconnect the negative battery terminal. Turn the ignition key to the "ON" position (without starting the engine) for a few seconds, then turn it off. Repeat this 3-4 times. This primes the system, allowing the new pump to fill the lines and build pressure.
- Leak Check: While priming, visually inspect all fuel line connections (at the tank and the filter) for any signs of leakage.
- Engine Start: Start the engine and let it idle. Continue to monitor all connections for leaks. If the engine runs smoothly and there are no leaks, the repair is successful.
- Road Test: Perform a short road test, paying attention to acceleration and idle quality.
Conclusion: Restored Performance and Reliability
The replacement of the fuel pump and filter on your 2nd Gen 4Runner with the 3VZ-E engine is a demanding but highly rewarding DIY project. By following these professional guidelines, you not only save significant labor costs but also gain a deeper understanding of your vehicle's mechanics. The result is a substantial improvement in performance, reliability, and peace of mind, ensuring your classic Toyota is ready for its next adventure. ReadyReady to tackle your next project? For all your classic Toyota parts, tools, and accessories, trust the experts at Standard American Outdoors. We stock high-quality, durable components designed to meet the rigorous demands of your 4Runner. Shop now and keep your legend running strong!