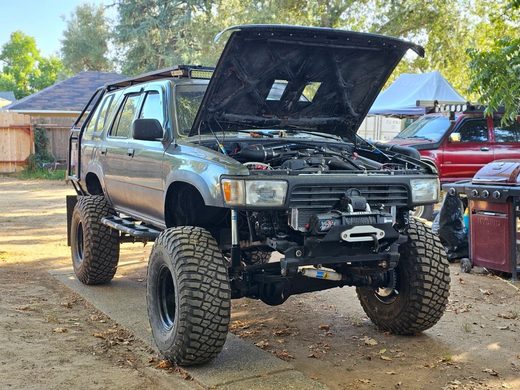
Simple Fixes for Common 2nd Gen 4Runner Electrical Issues
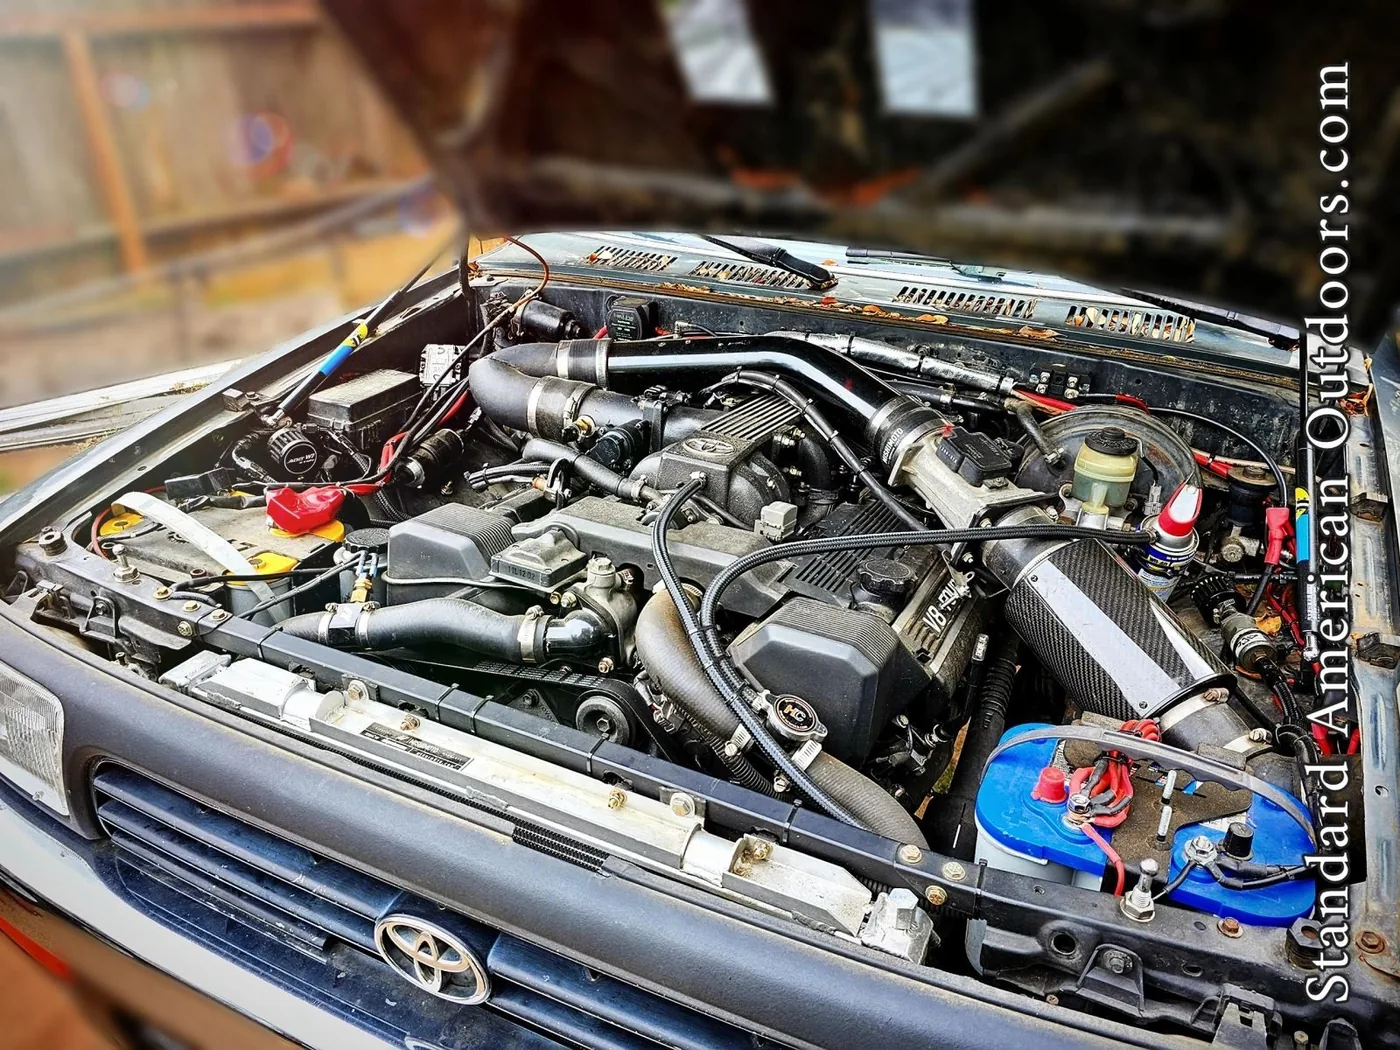
Simple Fixes for Common 2nd Gen
4Runner Electrical Issues
The second-generation Toyota 4Runner (1990-1995) is a legendary vehicle, renowned for its rugged durability and timeless styling. However, as these classic SUVs age, they inevitably develop a few quirks, and electrical gremlins are among the most common. From frustrating "no-crank" scenarios to flickering lights and dead accessories, these issues can be a headache for even the most dedicated owner.Fortunately, many of the most persistent electrical problems in the 2nd Gen 4Runner have well-documented, simple, and affordable fixes. This guide provides an authoritative, step-by-step breakdown of the three most common electrical failures and the straightforward DIY solutions that can keep your classic 4Runner running reliably for years to come.
The Infamous "Click, No Crank" Starter Problem
Few issues are as universally recognized by 2nd Gen 4Runner owners as the intermittent "click, no crank" starting problem. You turn the key, hear a single, solid click from the engine bay, but the starter motor fails to engage. This issue is often misdiagnosed as a bad battery or a completely failed starter, but the root cause is typically a design flaw in the original starter circuit.
Understanding the Starter Circuit Flaw
The problem lies in the starter solenoid contacts and the voltage drop across the circuit. Over decades of use, the copper contacts inside the starter solenoid become pitted and worn. Simultaneously, the wiring harness leading to the starter solenoid is long and thin, leading to a significant voltage drop by the time the signal reaches the solenoid. The combination of low voltage and poor contact surface means the solenoid can't pull enough current to properly engage the starter motor [1].
The Simple Fix: Solenoid Contact Replacement or Starter Relay Bypass
There are two primary, highly effective solutions to this problem:
1. Starter Solenoid Contact Replacement (The OEM Fix)
This involves replacing the two small, inexpensive copper contacts inside the starter solenoid. This is a common maintenance item and restores the solenoid's ability to handle the necessary current.
Procedure: Remove the starter, disassemble the solenoid cap, replace the two contacts (a plunger may also be included in the kit), and reassemble. This is the most thorough fix as it addresses the worn parts directly.
2. The Starter Relay Bypass (The Quick Fix)
This modification involves installing an external, heavy-duty relay to bypass the weak factory wiring and provide a full 12-volt signal directly to the starter solenoid. This ensures the solenoid receives the power it needs to engage every time.
Procedure: A new relay is wired into the circuit, using the original solenoid wire as the trigger. This is often referred to as the "starter relay re-wire" and is a popular, permanent solution that is simpler than removing the starter [2].
Intermittent Power Loss to Interior Accessories
If you've experienced a sudden loss of power to your dome light, map lights, clock, and sometimes the radio memory, the culprit is almost certainly a short circuit caused by a common failure point: the rear liftgate wiring harness.
The Broken Liftgate Wire Syndrome
The wiring harness that runs from the body of the 4Runner into the rear liftgate (hatch) is subjected to constant flexing every time the hatch is opened and closed. Over 20-30 years, this repeated movement causes the wires to fatigue, crack, and eventually break or short out against the chassis [3].
Symptoms: The DOME fuse (typically a 10A fuse in the interior fuse box) will blow instantly or intermittently. This fuse controls the power to the affected accessories. Location: The break usually occurs where the harness passes through the rubber boot/grommet between the body and the liftgate.
- Symptoms: The DOME fuse (typically a 10A fuse in the interior fuse box) will blow instantly or intermittently. This fuse controls the power to the affected accessories.
- Location: The break usually occurs where the harness passes through the rubber boot/grommet between the body and the liftgate.
The Simple Fix: Repairing the Harness
The solution is to locate the broken or frayed wires within the rubber boot and repair them.
Procedure: Carefully pull the rubber boot back from the body and the liftgate. Inspect the wires for breaks, cracks, or exposed copper. The most common wire to break is the one supplying power to the circuit. Splice in a new section of wire (preferably a slightly more flexible, higher-strand-count wire) using solder and heat-shrink tubing for a permanent, weatherproof repair. Avoid using simple crimp connectors, as they can fail again due to the flexing motion.
Voltage Drop and Dimming Headlights Under Load
A more subtle, yet pervasive, electrical issue is the noticeable voltage drop when accessories like the headlights, A/C, or brake pedal are engaged. This manifests as dimming headlights, a flickering dash, or even the radio cutting out briefly. This is often traced back to a critical, but undersized, factory cable.
The Main Power Cable Bottleneck
The problem often stems from the factory crimp and gauge of the cable running from the positive (+) battery terminal to the main relay box (specifically, to the "slow blow" fuse) [4]. This cable is responsible for supplying power to the entire vehicle's electrical system. The factory crimp can weaken over time, and the cable itself is often too small to handle the full load of an aging electrical system, leading to resistance and voltage loss.
The Simple Fix: Upgrading the Main Power Cable
The most effective fix is to replace this short, critical cable with a thicker, higher-gauge wire (e.g., 6-gauge or 4-gauge).
Procedure: Replace the factory cable with a new, properly sized cable. Ensure all connections are clean, tight, and preferably soldered. This upgrade reduces resistance, minimizes voltage drop, and ensures the main fuse box receives a stable, full 12-volt supply, resolving the dimming and flickering issues.
Summary of Common 2nd Gen 4Runner Electrical Issues and Fixes
To help you quickly diagnose and address your 4Runner's electrical issues, the table below summarizes the symptoms, root causes, and recommended fixes.SymptomRoot CauseSimple FixDifficultyTime EstimateClick, No CrankWorn starter solenoid contacts or voltage drop in starter circuit.Replace starter solenoid contacts OR install a starter relay bypass.Medium1-3 HoursDead Dome Light, Clock, Map LightsBroken or shorted wires in the rear liftgate harness.Locate and splice/solder new wire sections into the liftgate harness.Medium1-2 HoursHeadlights Dim/Flicker under LoadUndersized main power cable from battery to main relay box.Upgrade the positive (+) battery cable to the main relay box with a thicker gauge wire (e.g., 6 or 4 gauge).Easy30-60 MinutesIntermittent Engine Stalling/Radio CutoutWeak factory crimp on the main positive (+) battery cable.Inspect and tighten/replace the main positive battery cable connection.Easy15 Minutes
Conclusion and Call to Action
The 2nd Gen 4Runner is a testament to Toyota's engineering, but like any classic vehicle, it requires a little attention to keep its systems operating at peak performance. By addressing these three common electrical weak points—the starter circuit, the liftgate harness, and the main power cable—you can eliminate the most frustrating electrical issues and restore the legendary reliability of your truck. Don't let a few frayed wires or worn contacts keep your classic 4Runner parked. Taking on these simple DIY fixes is a rewarding way to deepen your connection with your vehicle and ensure it's ready for your next adventure. ReadyReady to tackle your next project? Whether you need high-quality wiring, replacement solenoid contacts, or the tools to get the job done right, Standard American Outdoors has you covered.