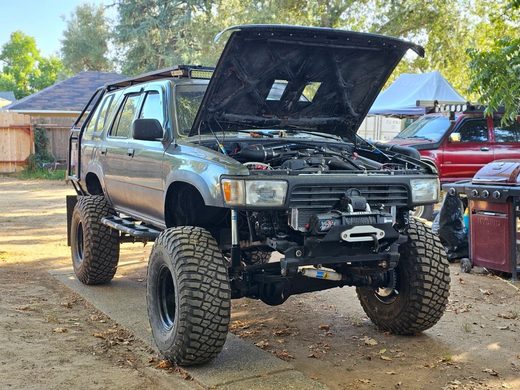
Ticking Time Bomb in Your Engine Bay: 2nd Gen 4Runner Cooling.
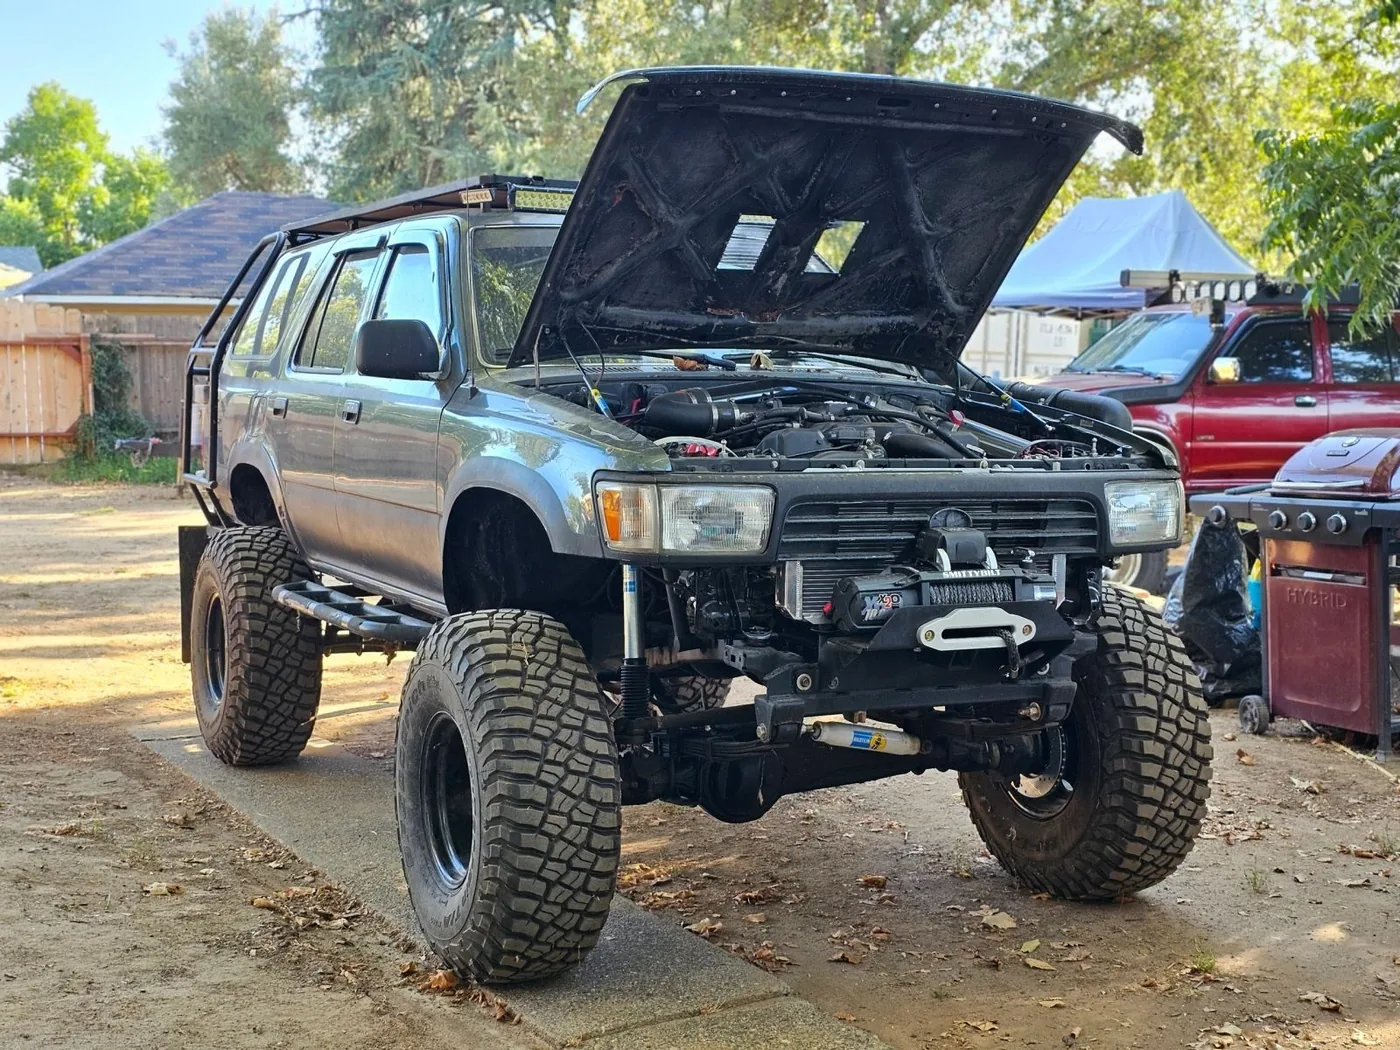
4Runner cooling system overhaul, radiator replacement, water pump replacement, coolant hoses, preventing head gasket failure
For the owner of a 2nd generation Toyota 4Runner, the temperature gauge is more than just a dial on the dashboard; it's a source of constant, low-grade anxiety. Every flicker, every slight rise above the halfway mark on a hot day or a steep grade sends a jolt of fear through your veins. You know the stories. You've read the forum posts. You understand that the cooling system in your truck is the single most critical line of defense against the catastrophic head gasket failure that plagues the 3.0L V6 engine.A leaky hose, a failing water pump, or a clogged radiator isn't just an inconvenience; it's the opening act for a multi-thousand-dollar tragedy. It's the ticking time bomb in your engine bay. But it doesn't have to be this way. You don't have to live in fear of your own temperature gauge. As seasoned 2nd gen owners who have stared into the abyss of a milky oil cap and come out the other side, we're here to give you the ultimate guide to disarming that bomb. This is your complete, step-by-step blueprint for overhauling your cooling system, ensuring your engine stays cool, and securing the long-term health of your legendary truck.
The Cascade of Failure: How a Small Leak Becomes a Blown Head Gasket
Understanding the "why" is critical to appreciating the urgency of this maintenance. The 3VZ-E engine's infamous head gasket issue is not a random event; it is almost always the direct result of an overheating event, often a minor one. The problem lies in a cascade of failure that starts with a single weak link in your 30-year-old cooling system.It begins with a small, seemingly insignificant coolant leak from a brittle radiator hose, a weeping water pump seal, or a pinhole in the radiator. As the coolant level slowly drops, the system's ability to dissipate heat is compromised. The engine temperature begins to creep up, especially under load. This extra heat causes the cast-iron cylinder block and the aluminum cylinder heads to expand at different rates, putting immense stress on the head gasket that seals the two together. The exhaust crossover design on the 3.0L V6 exacerbates this by creating a hot spot on the rear cylinders. One day, the gasket gives way, combustion gases are forced into the cooling passages, and the dreaded milky oil and white exhaust smoke appear. A $50 hose failure has just led to a $3,000 repair bill.
The Cooling System Autopsy: A Component-by-Component Inspection
Preventing this cascade of failure begins with a thorough and honest assessment of every component in your cooling system. Don't assume anything is "good enough." On a 30-year-old vehicle, every part is guilty until proven innocent.
Your Inspection Checklist:
•Radiator: With the engine cool, look for white or greenish crusty residue, which indicates slow leaks. Check the cooling fins; are they clogged with dirt and debris, or are they bent and damaged? Look at the plastic end tanks for hairline cracks.•Hoses: Squeeze every coolant hose, including the main upper and lower radiator hoses and the smaller heater hoses. Are they soft and spongy, or hard and brittle? A healthy hose should be firm but pliable. Any bulging near the clamps is a red flag for imminent failure.•Water Pump: Look for any signs of coolant leakage from the "weep hole" on the bottom of the water pump housing. A stained or crusty weep hole means the internal seal is failing and the pump is on borrowed time.•Fan Clutch: With the engine off, try to spin the mechanical fan. There should be some resistance. If it spins freely for more than one or two rotations, the clutch is bad, and it won't engage properly to pull air through the radiator when needed.•Thermostat: While you can't see it, if your engine takes forever to warm up or if the temperature fluctuates wildly, the thermostat is likely stuck open or closed.•Coolant: Check the coolant in the overflow reservoir. Is it a clean, bright green or red color? Or is it a rusty, muddy brown? Old, degraded coolant loses its anti-corrosive properties and can clog the system from the inside.
The Overhaul Blueprint: A Zero-Compromise Approach to Reliability
When it comes to the 2nd gen 4Runner's cooling system, piecemeal fixes are a fool's errand. Replacing one hose today just means another will fail tomorrow. The only way to truly achieve peace of mind is with a complete, systematic overhaul. This is not the place to cut corners.
The Essential Overhaul Parts List:
This is your shopping list for bulletproof reliability. Do not skip any of these items. Buy the highest quality parts you can afford; the price difference is negligible compared to the cost of failure.1.New Radiator: Don't try to flush a 30-year-old radiator. A new, all-aluminum radiator offers superior cooling and eliminates the risk of plastic end tank failure.2.New Water Pump and Timing Belt: The water pump is driven by the timing belt. They should always be replaced together. Buy a complete timing belt kit that includes the belt, water pump, tensioner, and idler pulleys.3.New Thermostat: A new thermostat from Toyota (OEM) is the only choice. Aftermarket thermostats are notoriously unreliable.4.Complete Hose Kit: Replace every single coolant hose. This includes the upper and lower radiator hoses, all heater hoses, and the various small bypass hoses. Silicone hose kits offer superior durability and longevity.5.New Fan Clutch: A new, properly functioning fan clutch is critical for low-speed and stationary cooling performance.6.New Radiator Cap: This simple part is responsible for maintaining pressure in the system. A weak cap can lower the boiling point of your coolant.7.New Belts: Replace the V-belts for the alternator and power steering while you're in there.
The Execution: Step-by-Step Overhaul Process
While a full guide is beyond the scope of one article, the process generally follows these steps. This is a significant but achievable DIY job for someone with moderate mechanical skill.1.Drain the System: Completely drain the old coolant from the radiator and the engine block.2.Remove Old Components: Disconnect the battery. Remove the fan shroud, fan, and old belts. Remove the radiator and all hoses.3.Timing Belt and Water Pump Replacement: This is the most intensive part of the job. Follow the factory service manual meticulously to remove the timing belt covers and replace the belt, water pump, and pulleys. This must be done correctly, as a mistake here can destroy your engine.4.Install New Components: Install the new thermostat, radiator, fan clutch, and all new hoses and belts.5.Refill and Bleed the System: This is a critical final step. Refill the system slowly with a 50/50 mix of new, high-quality coolant and distilled water. Use a "spill-free" funnel to properly bleed all the air out of the system as it comes up to temperature. Trapped air can cause localized hot spots and overheating.
The Ultimate Payoff: Driving with Confidence
Completing a full cooling system overhaul is one of the most empowering and important jobs you can do for your 2nd gen 4Runner. The sense of relief and confidence is profound. The temperature gauge will no longer be a source of fear, but a steady, reliable confirmation that your engine is protected. You can sit in traffic on a 100-degree day, climb a long mountain pass with the A/C blasting, or venture deep into the backcountry without the nagging worry of an overheating nightmare.By investing a weekend and a few hundred dollars in parts, you have disarmed the ticking time bomb. You have addressed the root cause of the 3.0L V6's most notorious failure and secured your truck's reliability for tens of thousands of miles to come. Now, you can finally stop worrying about your engine and start planning your next adventure.
keywords:
4Runner cooling system overhaul, radiator replacement, water pump replacement, coolant hoses, preventing head gasket failure
Cracked dash? We build a custom-fit dash mat for the 90–95 trucks — shipped from Delaware.