Fortify Your Ride: A Guide to 2nd Gen T4R Rock Sliders Install
Fortify Your Ride: A Guide to 2nd Gen 4Runner Rock Sliders Installation
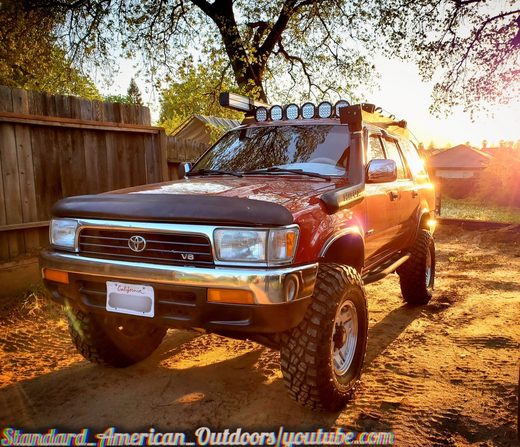
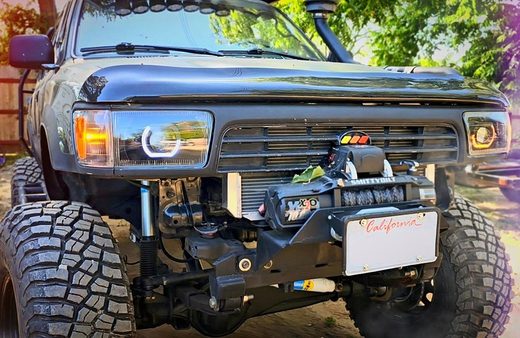
For any serious off-road enthusiast, protecting your vehicle from the harsh realities of the trail is paramount. Among the most crucial upgrades for a 2nd Gen Toyota 4Runner (1990-1995) venturing into rocky terrain are rock sliders. These robust protective bars shield your rocker panels and frame from impacts, preventing costly damage and allowing you to confidently navigate challenging obstacles. If you're looking to enhance your rig's durability and capability, understanding 2nd Gen 4Runner rock sliders installation is a vital step. This guide will walk you through the importance of rock sliders, key considerations for choosing the right set, and a general overview of the installation process to fortify your classic 4Runner.
Why Rock Sliders Are Essential for Your 2nd Gen 4Runner
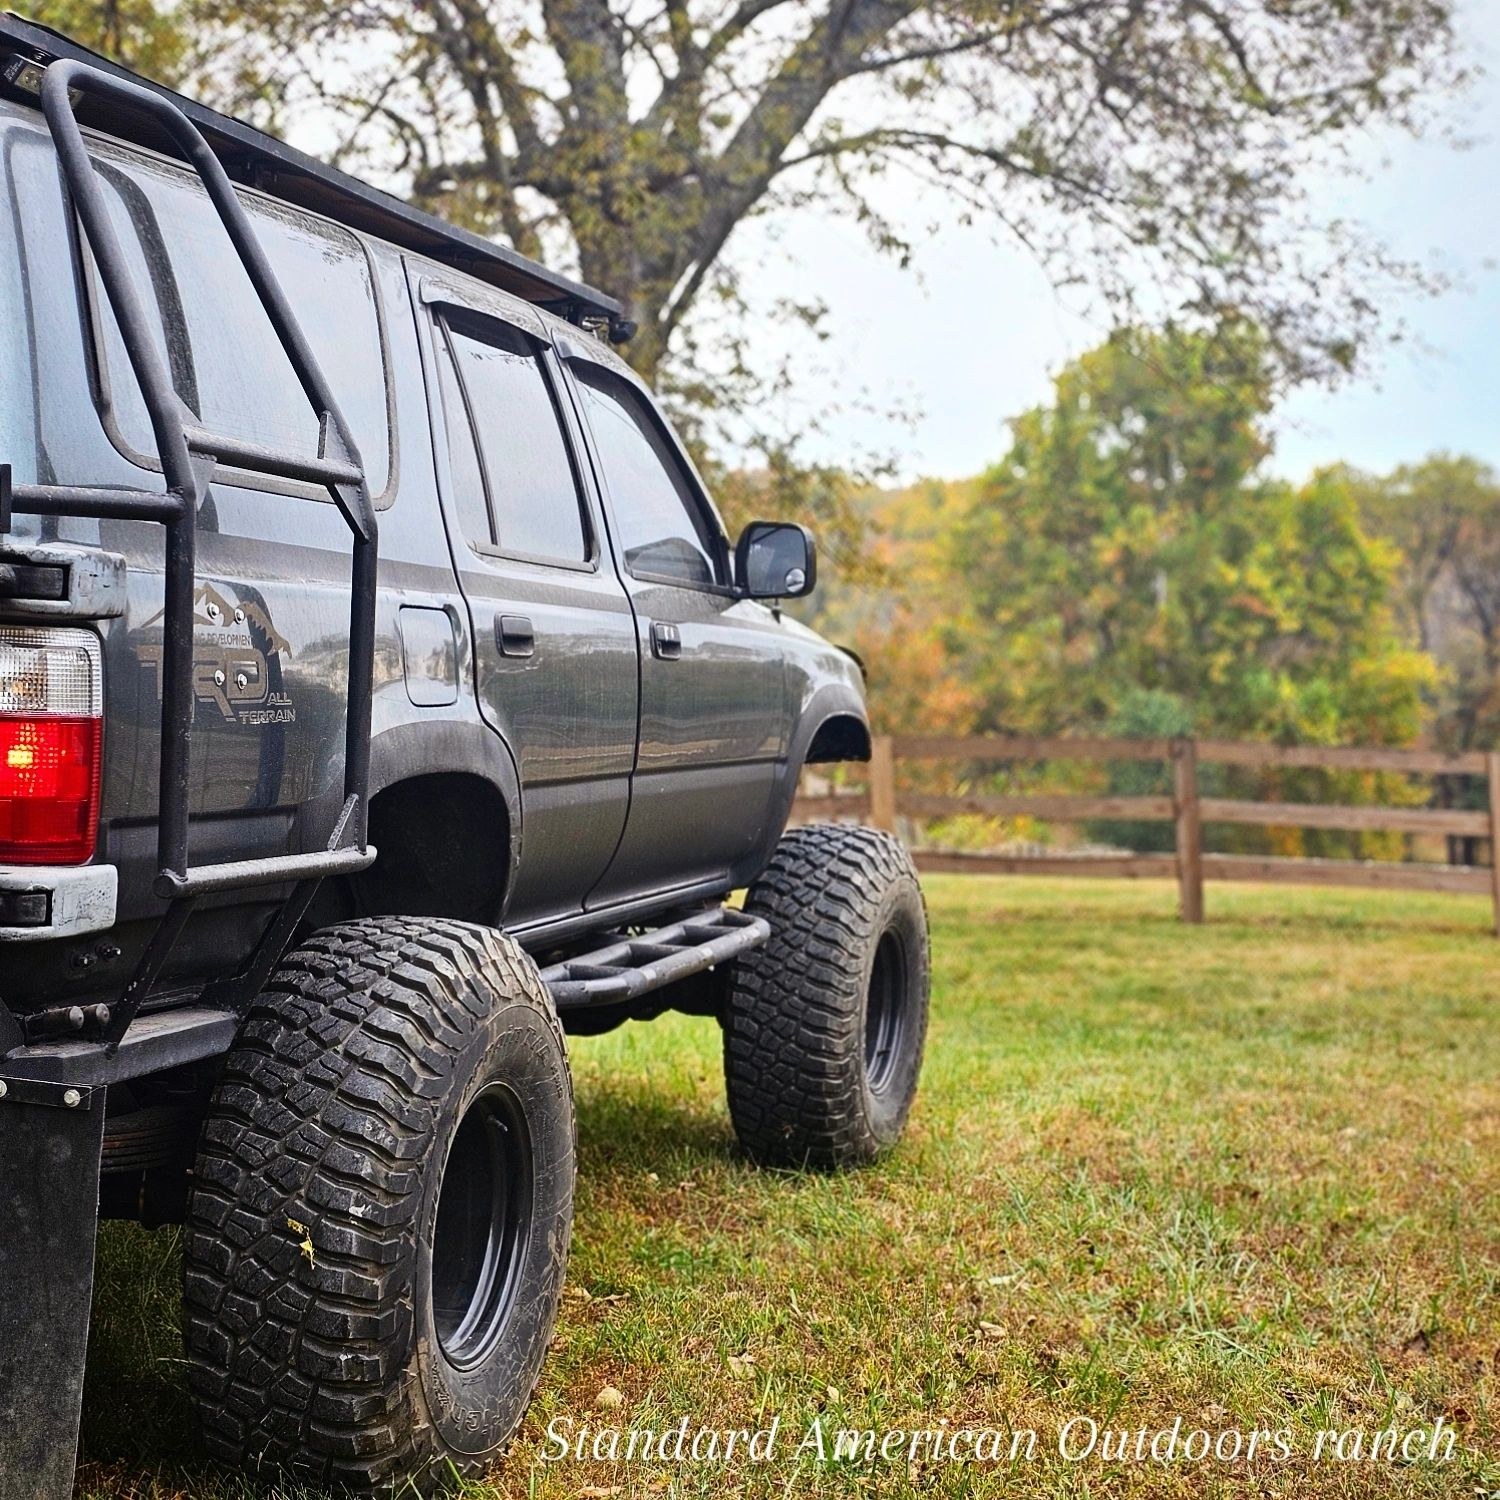
The rocker panels of your 2nd Gen 4Runner are particularly vulnerable when off-roading. These are the sections of the body located between the front and rear wheel wells, directly beneath the doors. Without adequate protection, they can easily be crushed, dented, or torn by rocks, stumps, or other trail hazards. Such damage is not only unsightly but can also compromise the structural integrity of your vehicle and make door operation difficult.
Rock sliders serve multiple critical functions:
- Protection: Their primary role is to absorb impacts, transferring the force away from the vulnerable rocker panels and directly to the stronger frame. This is invaluable when traversing rocky trails or navigating tight squeezes.
- Pivot Point: They allow you to pivot your vehicle around obstacles, using the slider as a fulcrum, which can be a game-changer in technical terrain.
- High-Lift Jack Point: Many rock sliders are designed to safely support a high-lift jack, providing a secure lifting point for tire changes or recovery in uneven conditions.
- Step: While not their main purpose, many designs double as a convenient step for easier entry and exit, especially after a lift kit has been installed.
Investing in quality rock sliders is a non-negotiable upgrade for any 2nd Gen 4Runner owner serious about off-roading, making 2nd Gen 4Runner rock sliders installation a top priority.
Choosing the Right Rock Sliders for Your 2nd Gen 4Runner
Before you begin the 2nd Gen 4Runner rock sliders installation process, you need to select the right set for your needs. Several factors come into play:
- Material: Most rock sliders are made from heavy-gauge steel tubing (e.g., 1.75" or 2" diameter, 0.120" wall thickness). Steel offers excellent strength and durability. Some manufacturers use DOM (Drawn Over Mandrel) tubing for superior strength.
- Mounting Style:
- Bolt-on: These attach directly to the frame using existing holes or by drilling new ones. They are generally easier to install and remove.
- Weld-on: These are permanently welded to the frame, offering the strongest possible attachment. While more involved to install, they provide maximum rigidity and protection.
- Angle and Kick-out: Sliders come in various angles relative to the ground. A flatter angle can provide a better step, while a steeper angle offers more ground clearance. A
“kick-out” design at the rear helps push the vehicle away from obstacles, protecting the rear quarter panel.
- Finish: Powder-coated sliders offer corrosion resistance and a clean look, while bare steel allows for custom paint or bed liner applications.
Consider your off-roading style and the level of protection you need when making your selection. At Standard American Outdoors, we offer a range of rock sliders designed specifically for the 2nd Gen 4Runner, ensuring a perfect fit and maximum protection.
General Overview of 2nd Gen 4Runner Rock Sliders Installation (Bolt-On)
While specific instructions will vary by manufacturer, the general process for a bolt-on 2nd Gen 4Runner rock sliders installation typically involves these steps. Always refer to the manufacturer’s instructions for your specific product.
Tools and Materials You’ll Need:
- Jack and jack stands (or a lift)
- Socket set and wrenches
- Torque wrench
- Drill and appropriate drill bits (if new holes are required)
- Measuring tape
- Marker or paint pen
- Safety glasses and gloves
- Rust-inhibiting primer and paint (for drilled holes)
Installation Steps:
1. Prepare the Vehicle: Park your 4Runner on a level surface. If using a jack, ensure it’s securely supported by jack stands. Clean the frame rails where the sliders will attach, removing any dirt, rust, or debris.
2. Position the Sliders: Carefully lift each rock slider into position. It’s often helpful to have a second person assist with this, or use a floor jack to support the slider. Align the mounting plates with the frame. Ensure the slider is level and positioned correctly along the rocker panel.
3. Mark and Drill (if necessary): If your sliders require drilling new holes, use a marker to accurately mark the drill points through the mounting plates onto the frame. Double-check all measurements. Drill pilot holes first, then enlarge them to the required diameter. Immediately apply rust-inhibiting primer and paint to any newly drilled holes to prevent corrosion.
4. Attach the Hardware: Insert the provided bolts, washers, and nuts. For bolt-on sliders, these typically involve clamping plates that sandwich the frame, or bolts that go directly through the frame. Hand-tighten all hardware to allow for minor adjustments.
5. Final Adjustments and Torque: Once both sliders are loosely mounted, step back and ensure they are level and symmetrically positioned. Make any final adjustments. Then, using a torque wrench, tighten all bolts to the manufacturer’s specified torque settings. Do not overtighten.
6. Final Inspection: Double-check all bolts to ensure they are tight. Take your 4Runner for a short test drive, listening for any unusual noises. Re-check the bolts after a few hundred miles of driving, especially after your first off-road excursion.
Maintenance and Care for Your Rock Sliders
After completing your 2nd Gen 4Runner rock sliders installation, a little maintenance will ensure they last for years. Regularly inspect them for damage, rust, or loose hardware. Touch up any paint chips or scratches to prevent corrosion. After heavy off-roading, clean off any accumulated mud or debris, as this can trap moisture and accelerate rust.
Conclusion: Drive with Confidence
Installing rock sliders on your 2nd Gen Toyota 4Runner is one of the most effective ways to protect your investment and enhance its off-road capability. It allows you to tackle more challenging trails with confidence, knowing that your vehicle’s vulnerable underbelly is shielded. Whether you choose bolt-on or weld-on, the added peace of mind and the ability to push your limits further make 2nd Gen 4Runner rock sliders installation an invaluable upgrade for any serious off-roader. Get ready to hit the trails harder and explore more with your fortified 4Runner.
*Ready to fortify your 2nd Gen 4Runner? Visit Standard American Outdoors for high-quality rock sliders and all the accessories you need for a successful 2nd Gen 4Runner rock sliders installation.*